
6 Tips for Making the Most of your Camera Phone
Changing your ‘meh’ phone snaps into memorable ‘keepers’ is way easier than you might think.

An impromptu game of cricket on a winter afternoon at Teignmouth definitely merited some pictures. Crouching down and using the sun game this image way more impact that standing at normal height with my back to the sun would’ve done.
Whilst I adore my ‘big’ camera, it’s a bit of a beast and not the most practical thing to carry around with me, but as anyone who’s spent any time outdoors with me will know, I cannot resist taking pictures of anything and everything.
Thank goodness for my trusty camera in my pocket (iPhone 11 in my case).
If you want to capture ‘heirloom’ images to print large and hang on your wall, then a camera phone might not be the best option. (The quality of images on my Nikon mirrorless never ceases to amaze me). However, if you just want to capture day-to-day memories and the world around you, then you absolutely can’t beat the camera-in-your-pocket.
Back in 2022, I completed a 365 day challenge which involved taking a photo a day and posting it to Instagram. The intention was to improve my photography, and it probably achieved that to an extent, but what I found was that it was actually a wonderful visual diary of our year as a family. Admittedly some days were hard (a wet day in February that involved a cold school run and editing at my desk was pretty uninspiring) so I was relieved to complete it, but decided to keep it going as a 52 week challenge (no prizes for guessing the format!) and I’ve been doing it ever since. Should you be interested, you can check my special Insta’ account.
Did it make me a better photographer overall? That’s debatable but what it did do was show me the benefits rather than the limitations of mobile phone photography.
So, here are some of my tips for better phone photography:
1.Avoid the Temptation to Zoom
Tempting as it to pinch the screen so you can get closer to the subject, don’t succumb! It makes the quality absolutely rubbish. Ideally, get closer to the subject, but if that’s not possible, crop in a bit afterwards. To be honest, the depth of quality of an image is probably one of the biggest limitations on a mobile so just embrace it.
2. Add a Grid
‘Rule of Thirds’ is one of the most basic ‘rules’ of composition in photography. Rather that always sticking the subject front and centre in the picture, arguably it balances better if you put it into one of the 3rds. After a while, this will become second nature, but the iPhone has a nifty little setting that adds a grid to the image so you can keep it in mind when you are composing your image. (iPhone - Settings->Camera->Grid. Android - Camera app, tap the settings icon (usually a gear or cog), and then toggle on the "Grid lines" or "Grid type" option). While you’re there, the ‘level’ option is useful to avoid wonky horizons.
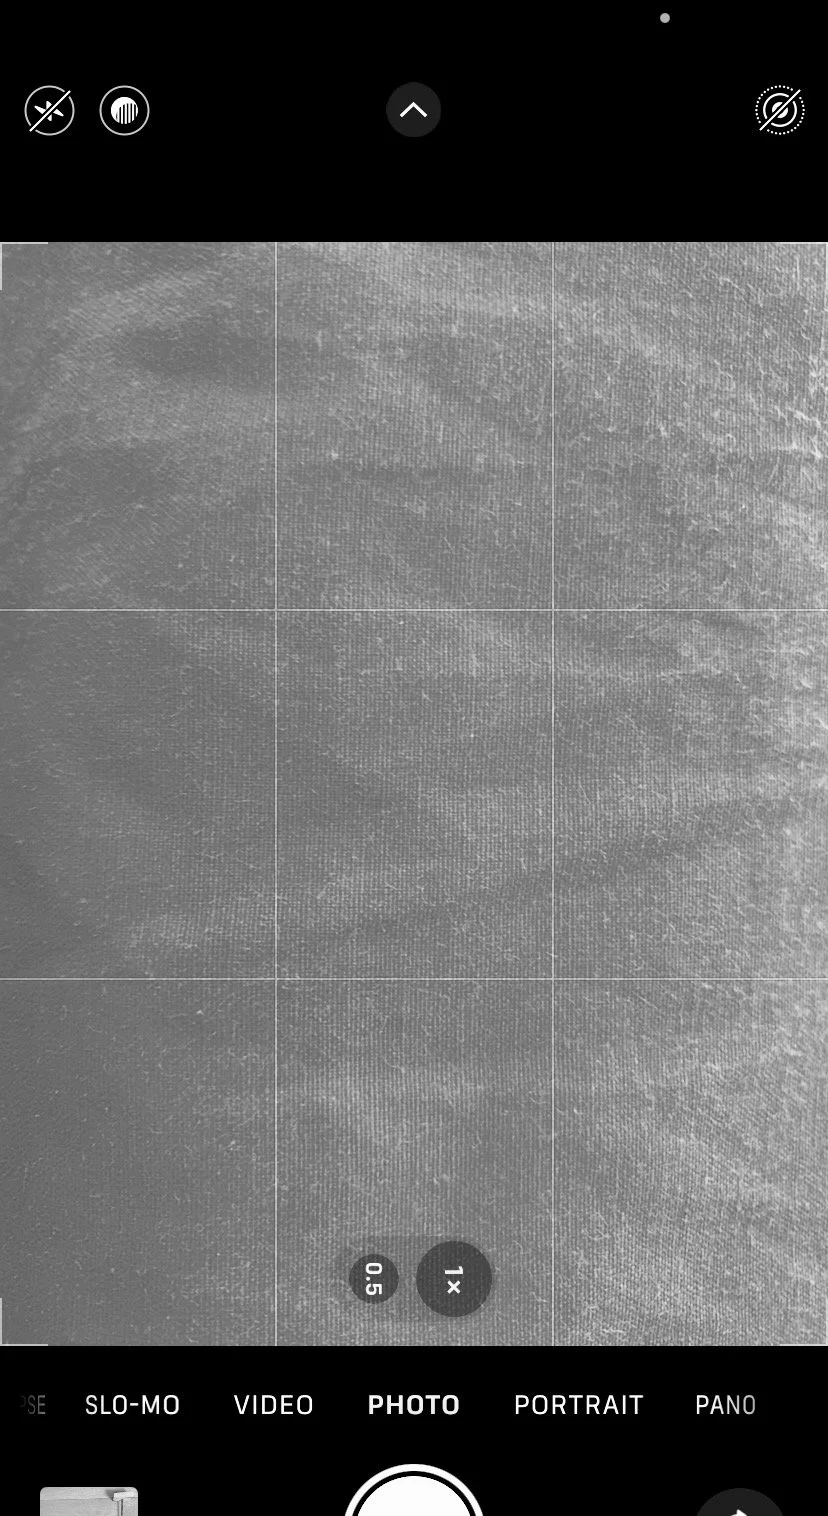
Adding gridlines to your camera view makes it easier to compose interesting images
3. Change your Perspective
Avoid the easy option of standing up and shooting from arm’s length with the phone held upright. Maybe try crouching down or turning the phone to horizontal you’ll get a slightly different and more interesting perspective. Particularly if you are taking pictures of small children, get down to their level and see the world from their eyes.
Look at the environment around you. Can you incorporate that into the image? Particularly if you can’t get down to ground level, try turning the phone upside down so the lens is at the bottom and see how that can slightly change the image you capture.

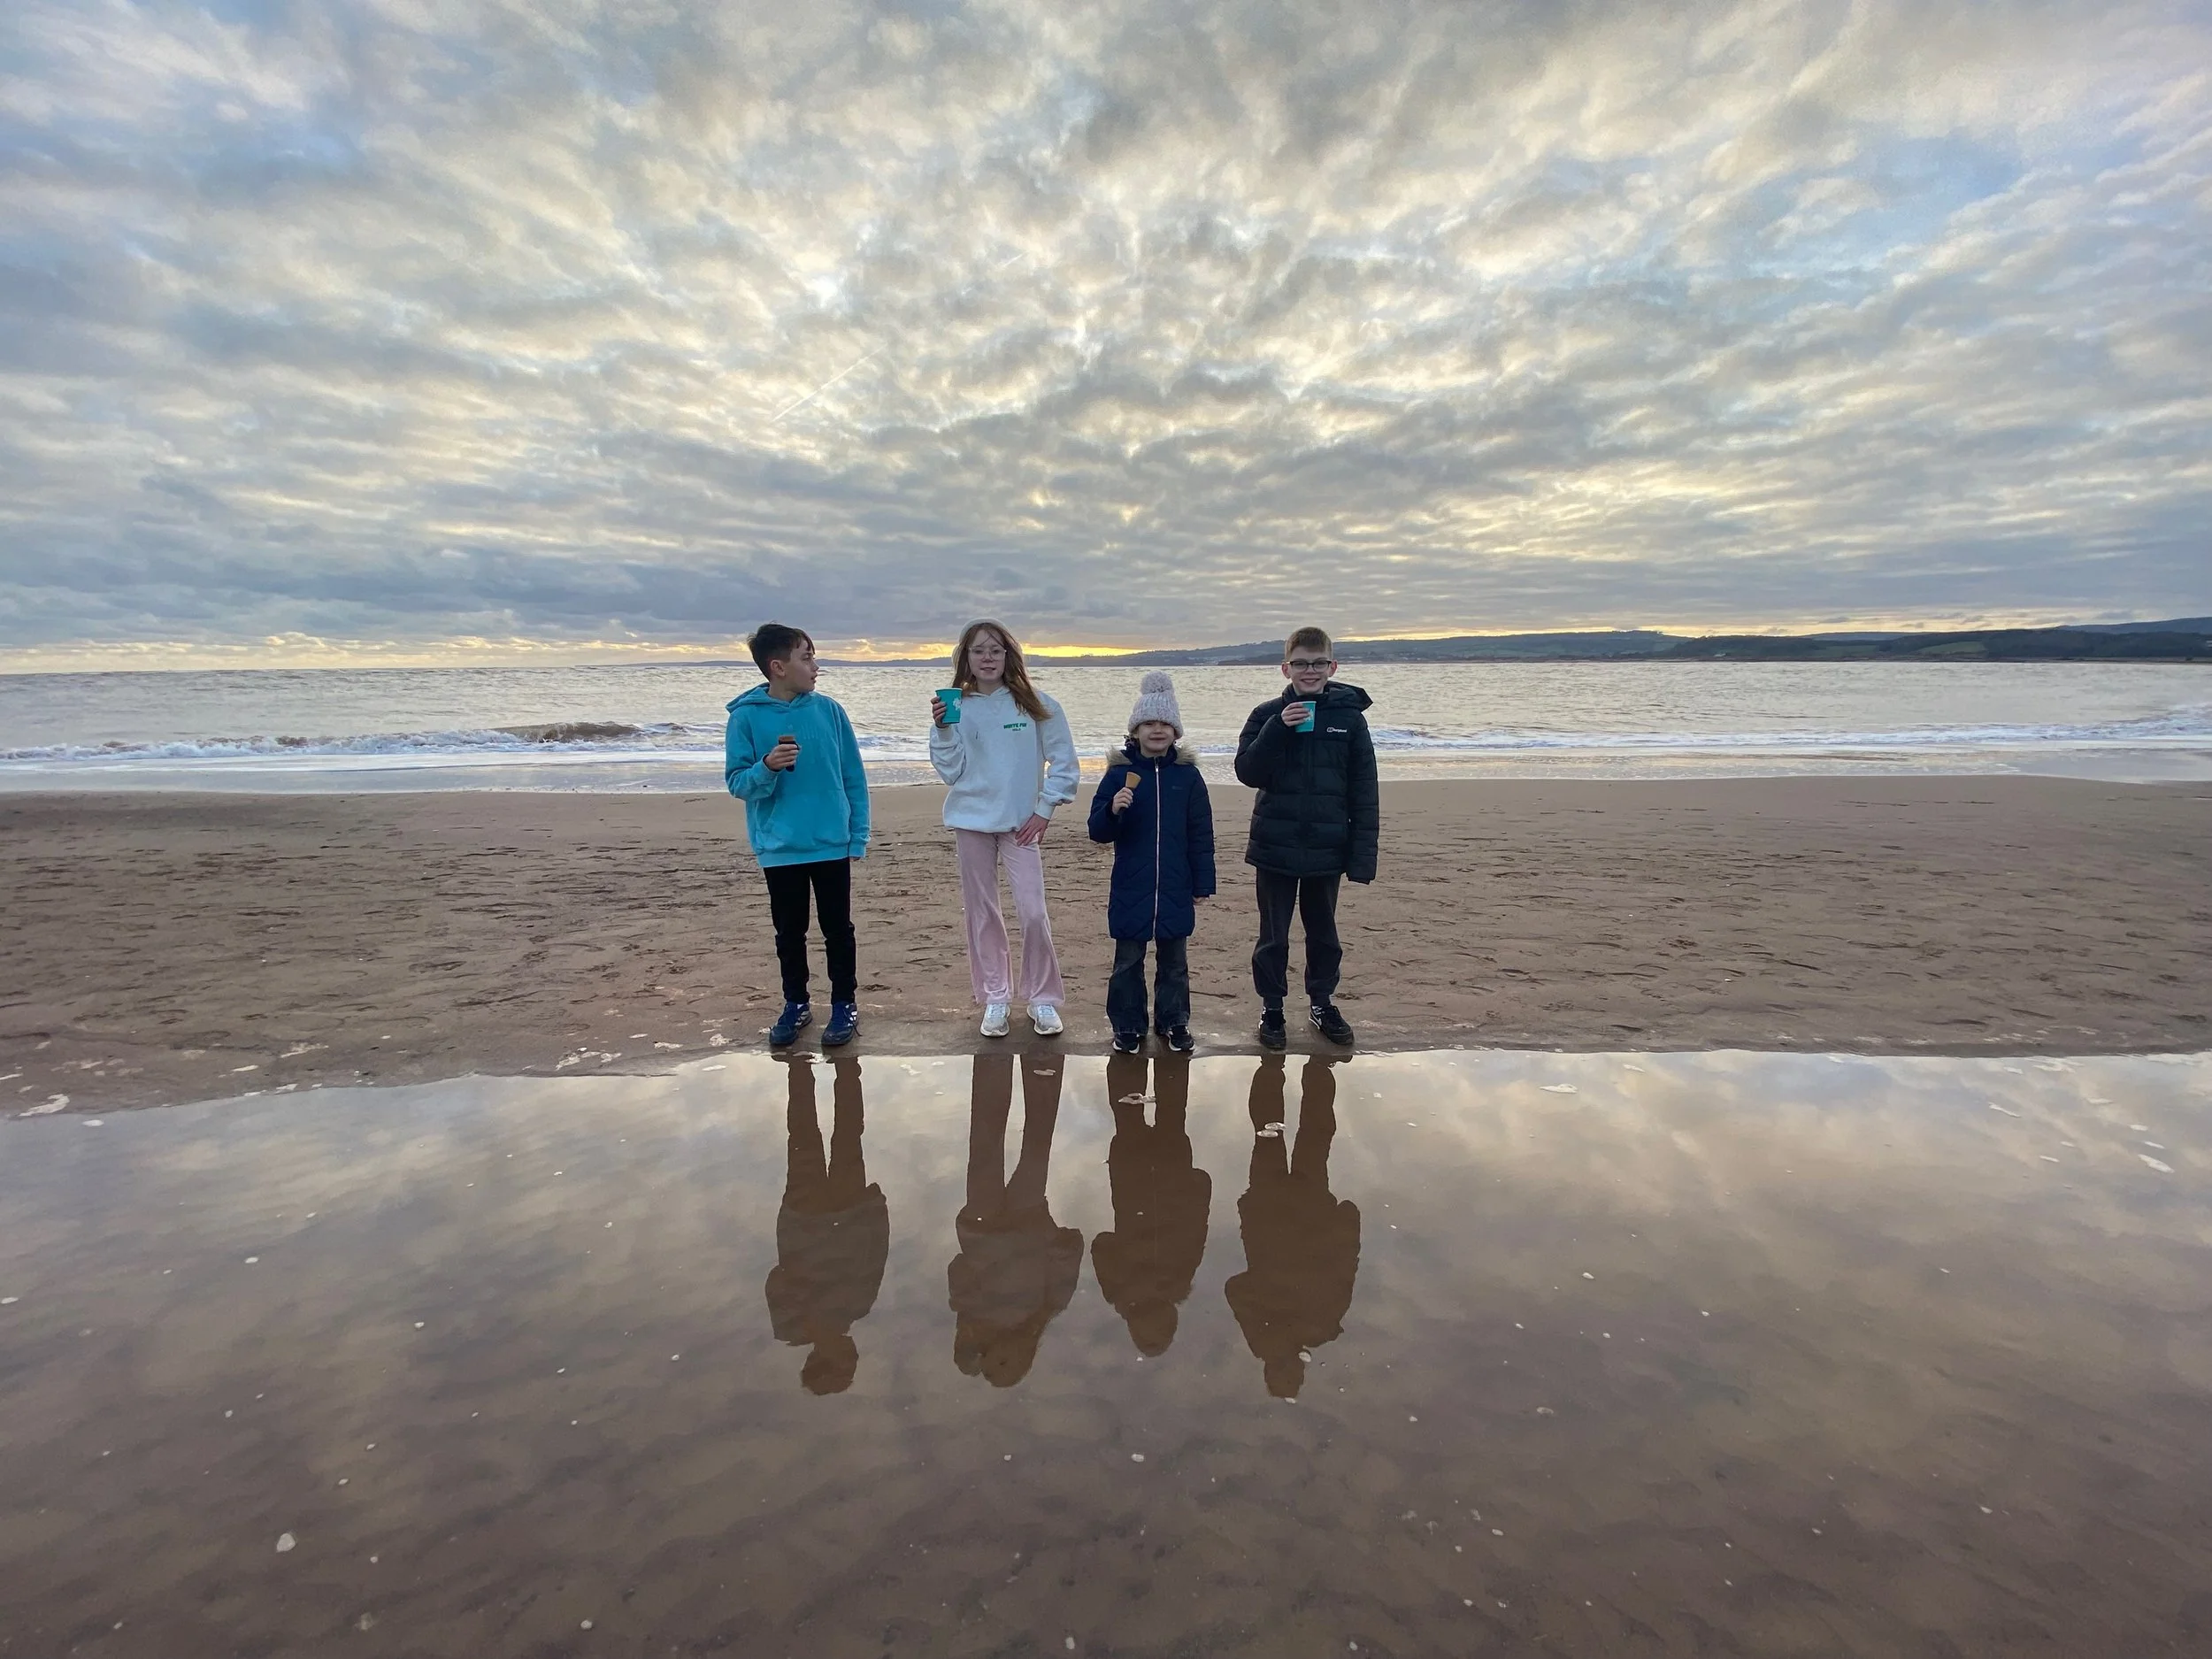
This image was taken with my iPhone on a winter’s afternoon in Exmouth. It didn’t take a lot of fancy kit or lighting, just a little patience. I crouched down and turned my phone upside down, meaning that I could get lower and make more of the light and natural lake created by the outgoing tide.

This was pretty much exactly the same spot but taking in a ‘traditional’ standing position. Not as interesting right? (It’s also a good example of not zooming in before pressing the shutter, as the quality is rubbish!).
4. Turn off the Flash
Unless you are being super-creative, changes are it’s going to make the subject looking like a rabbit in headlights. The low light functionality on my phone never ceases to surprise me and it’s always going to be better than a hideous, bright white light that adds nothing to an image. Avoid, avoid, avoid!
5. Quick Edit
As those who know me know, I’m most definitely not a fan of these weird, skin smoothing Insta filters that make you look like a freak, but the basic in-camera post processing filters are really good. With just a little bit of tweaking, you can turn an ok image into something much more dramatic and if you think you’ve gone too far, simply revert to original and you’ve not lost anything. Warm up the image, raise the shadows, crop in a little - just a few of the tweaks that can change the look and feel of the final image.
6. Experiment!!
You’ve always got your phone with you, so just have a play and experiment. The more you look, the more you’ll notice little details of the world around you and the better you’ll get. Why not consider a 365 day challenge and build your own family’s visual diary? I can’t recommend it enough.
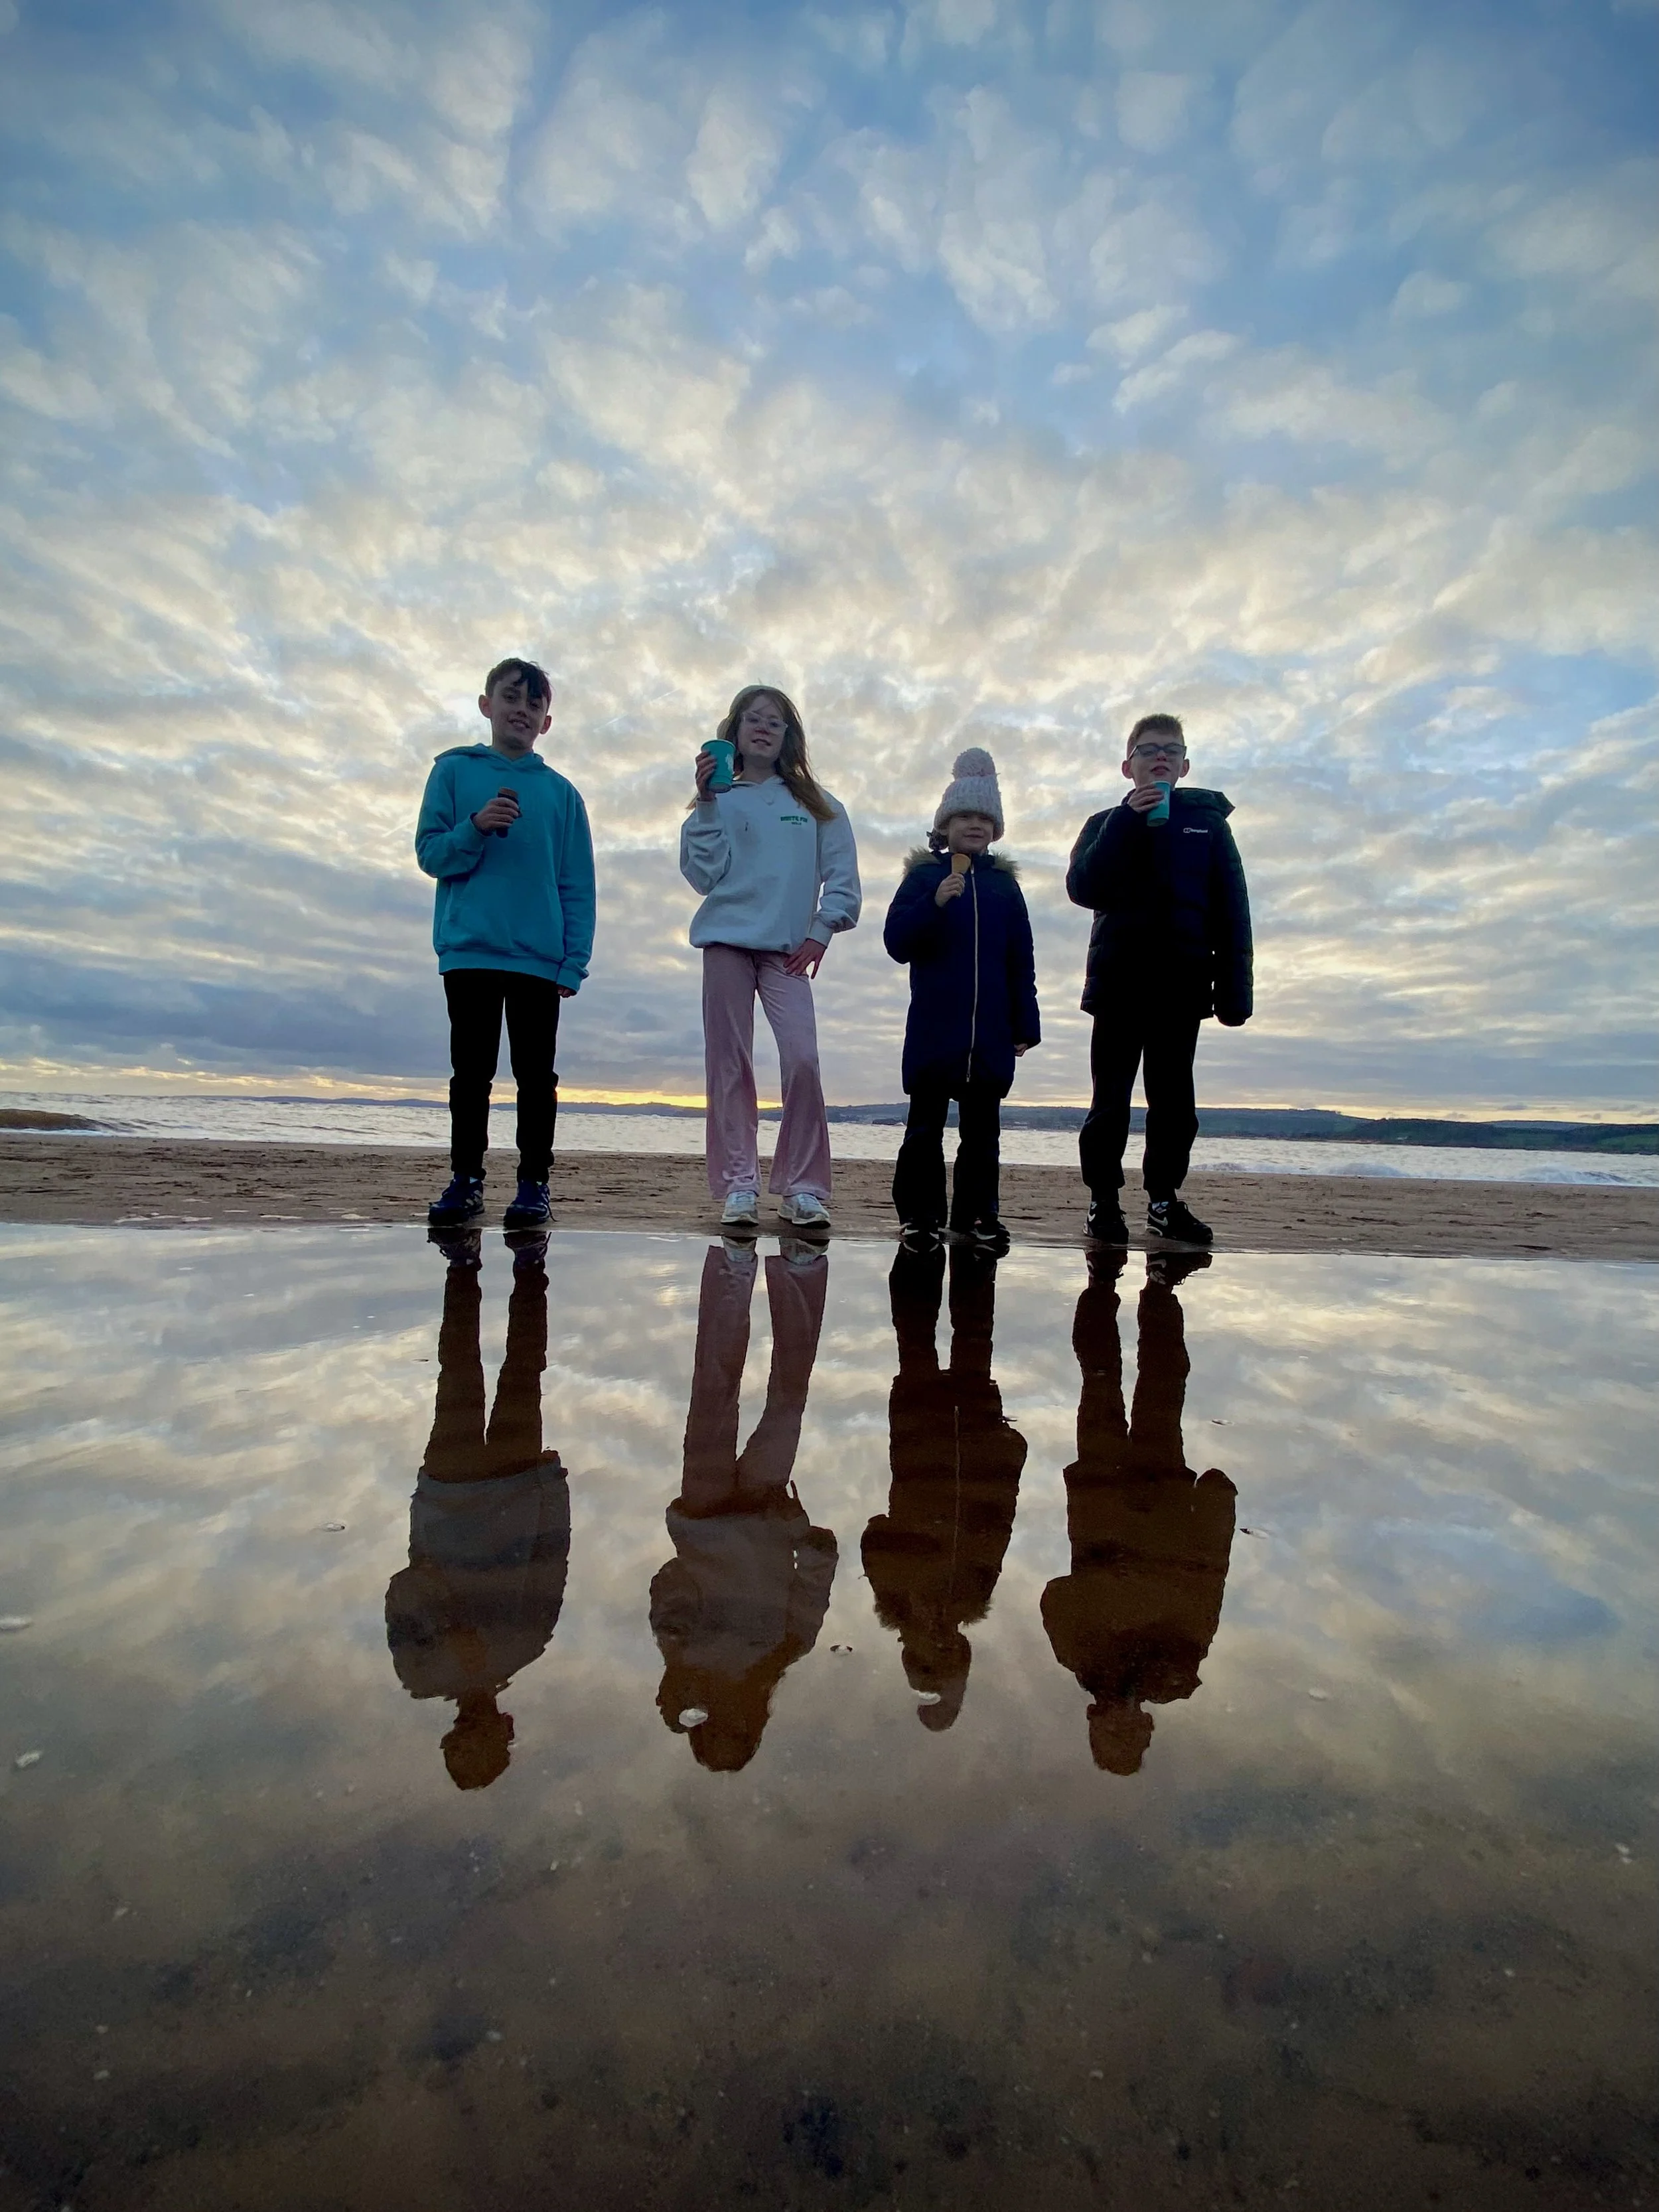
Same kids, same place, same time, totally different feel (and maybe the prospect of me falling into a tidal pool on a very cold winter day was what was needed to get everyone looking in the same direction at the same time?).
Oh and tag me! I’d absolutely love to see how you’re getting on. @fionafrenchimages