
Before the Session
Preparing for the Day
Right, so you’ve decided you want to have a shoot and we’ve set the wheels in motion. Wonderful! I’m so excited to be working with you. Some people are pros at this kind of thing, but for many, it might be the first time you’ve done something like this and it might feel a bit overwhelming.
Don’t worry, I’ve got you! The following information will hopefully give you a clear step-by-step guide as to what happens now.
Some people will book their shoot with me months in advance, whereas for others it’s all a bit last minute. The timings below don’t really matter, they are more to give you an idea of what to think about.
Confirming the booking & your client portal
Once we’ve confirmed the booking, I’ll send over an invoice which also gives you access to your client portal. Within this portal, you’ll find the invoice as well as the contract and questionnaire. Neither of these things are supposed to be onerous, I promise!
Your client portal contains all the documents you need.
The contract is a basic document to protect us both. There’s no nasties in it, just a clear statement of what you can expect from me and what I ask from you in return (such as turning up at the time agreed) and what happens in the event of bad weather (spoiler alert; we just reschedule!).
The questionnaire is an opportunity for me to get some more information about you as a family and what you are hoping to get from the shoot. It’s not long, but the more details you can provide the more helpful it is.
2. Choosing a Location
Some people have very clear ideas about where they would like their family shoot to take place, either because they want it in the garden, because they have access to somewhere else or because they have a favourite location to go as a family. If that’s the case, then wonderful!
However for many, it’s not so obvious, but if that’s you don’t worry, the world’s your oyster! I’ve put together a list of some of my favourite locations as a guide, but this isn’t exhaustive and I’m very happy to provide other ideas. I’m Devonian born and bred and so know the county pretty well and can come up with other ideas.
Of course, if you are having a newborn shoot, more often than not, we’ll do this at home so you don’t need to have the stress of getting out somewhere else with a tiny-wee. Don’t worry though, it’s something we can discuss.
3. The Week Before
Once you’ve signed the contract and completed the questionnaire, you don’t need to do much until the week before.
Although it doesn’t need to be a big deal, I’d recommend giving some thought to what clothes you are all going to wear so you aren’t stressing on the morning of the shoot. If you’re like me, this is probably the thing you dread most, so I’ve put together a what to wear guide to provide some pointers.
Inevitably, as this is Britain, the weather is going to be a consideration. I obsessively check the forecast in the week and days before a shoot and if it looks like it’s going to be problematic then I’ll be in touch to discuss options with you. I’m not looking for perfect weather and believe it or not, clouds are better than a stunning blue sky (harsh shadows and squinting are nobody’s friend), but if it looks like it’s going to be really wet or blowing a hoolie, then we can chat about whether it’s better to postpone to another occasion.
Whatever the forecast, I’ll drop you a message in days before just to confirm details such as exact time & location and clear up any last minute questions you might have.
4. What to Bring
So shoot day is upon us. Exciting times! What do you need with you? Ideally as little as possible but the following list might be useful, depending on the ages of the kids:
Nappies (if required);
Snacks (always required, right?!);
A favourite toy/friend if it might be reassuring (but wherever possible we use distractions round and about us);
Tissues (I'm a Photoshop snot-removing expert but it's always preferable to not have it there in the first place!);
A change of clothes, if there's any possiblity of getting wet;
Hair brush/hair bands should the wind cause unrulyness;
A picnic blanket/rug if the ground could be wet;
Coats, hats, sun cream, insect repellent (depending on the season)
5. The Shoot
Hopefully it’s clear where we’re meeting but if it’s busy, I’ll be the one with the big, black rucksack on my back.
Whether or not we need to walk a little way to get to the location, I’ll take a little bit of time to get to know you all, so don’t worry, I’m not going to start snapping straight away. Depending on the age of the children, I might show them the back of my camera so they can see what I’m doing.
Some kids are happy to chat straight away, others are more wary and reticent. Whatever personalties you are all, I’ve dealt with it before so don’t worry or stress about it. We’ll go with the flow. Let the kids be themselves and don’t worry if they aren’t co-operating straightaway. I won’t force anything and, if necessary I’ll keep a little bit away from you all until they are used to me.
Generally, the shoot lasts about an hour as this gives us plenty of time to get to know each other and get a variety of shots before the family start getting tired. However, if things start derailing before that then we can also call it a day a bit earlier. I’ll still have plenty of materials to work with. Conversely, I won’t clock watch so if we’re having a blast and it seems a shame to stop, then I won’t insist on finishing on the dot.
I’d recommend that you don’t schedule something else in straight after the shoot, if at all possible, so you don’t feel rushed to get to the next place.
How about making a day of it and treating yourselves to a nice bite to eat somewhere afterwards?
6. Next Steps
So once we’ve said goodbye, that’s when my hard work starts. I’ll go through all the images I’ve taken (there will be a lot!) and select the very best ones which I’ll then edit to my style. I’ll also create black and white images of some of them. These are the ones that I think work best in black and white, but if like me, you are a black and white lover, I can provide the entire gallery as black and white too. Just ask.
Just to be clear, I edit the final selection of images BEFORE showing them to you so you don’t need to imagine what the final, polished version will look like.
Once I’ve finished I’ll upload them all onto a password protected viewing gallery for you and drop you a message to tell you it’s ready. You can then tell me when you’d like me to release the gallery to you. This is so you can make the most of the 3 day discount rather than getting the gallery at a time that’s really not convenient.
Once you can see your final gallery, you need to decide which package you’d like to buy.
There’s no need to book a viewing session with me and there’s no hard-sell. Just enjoy looking through it and reliving the day and let me know once you’ve made your selection.
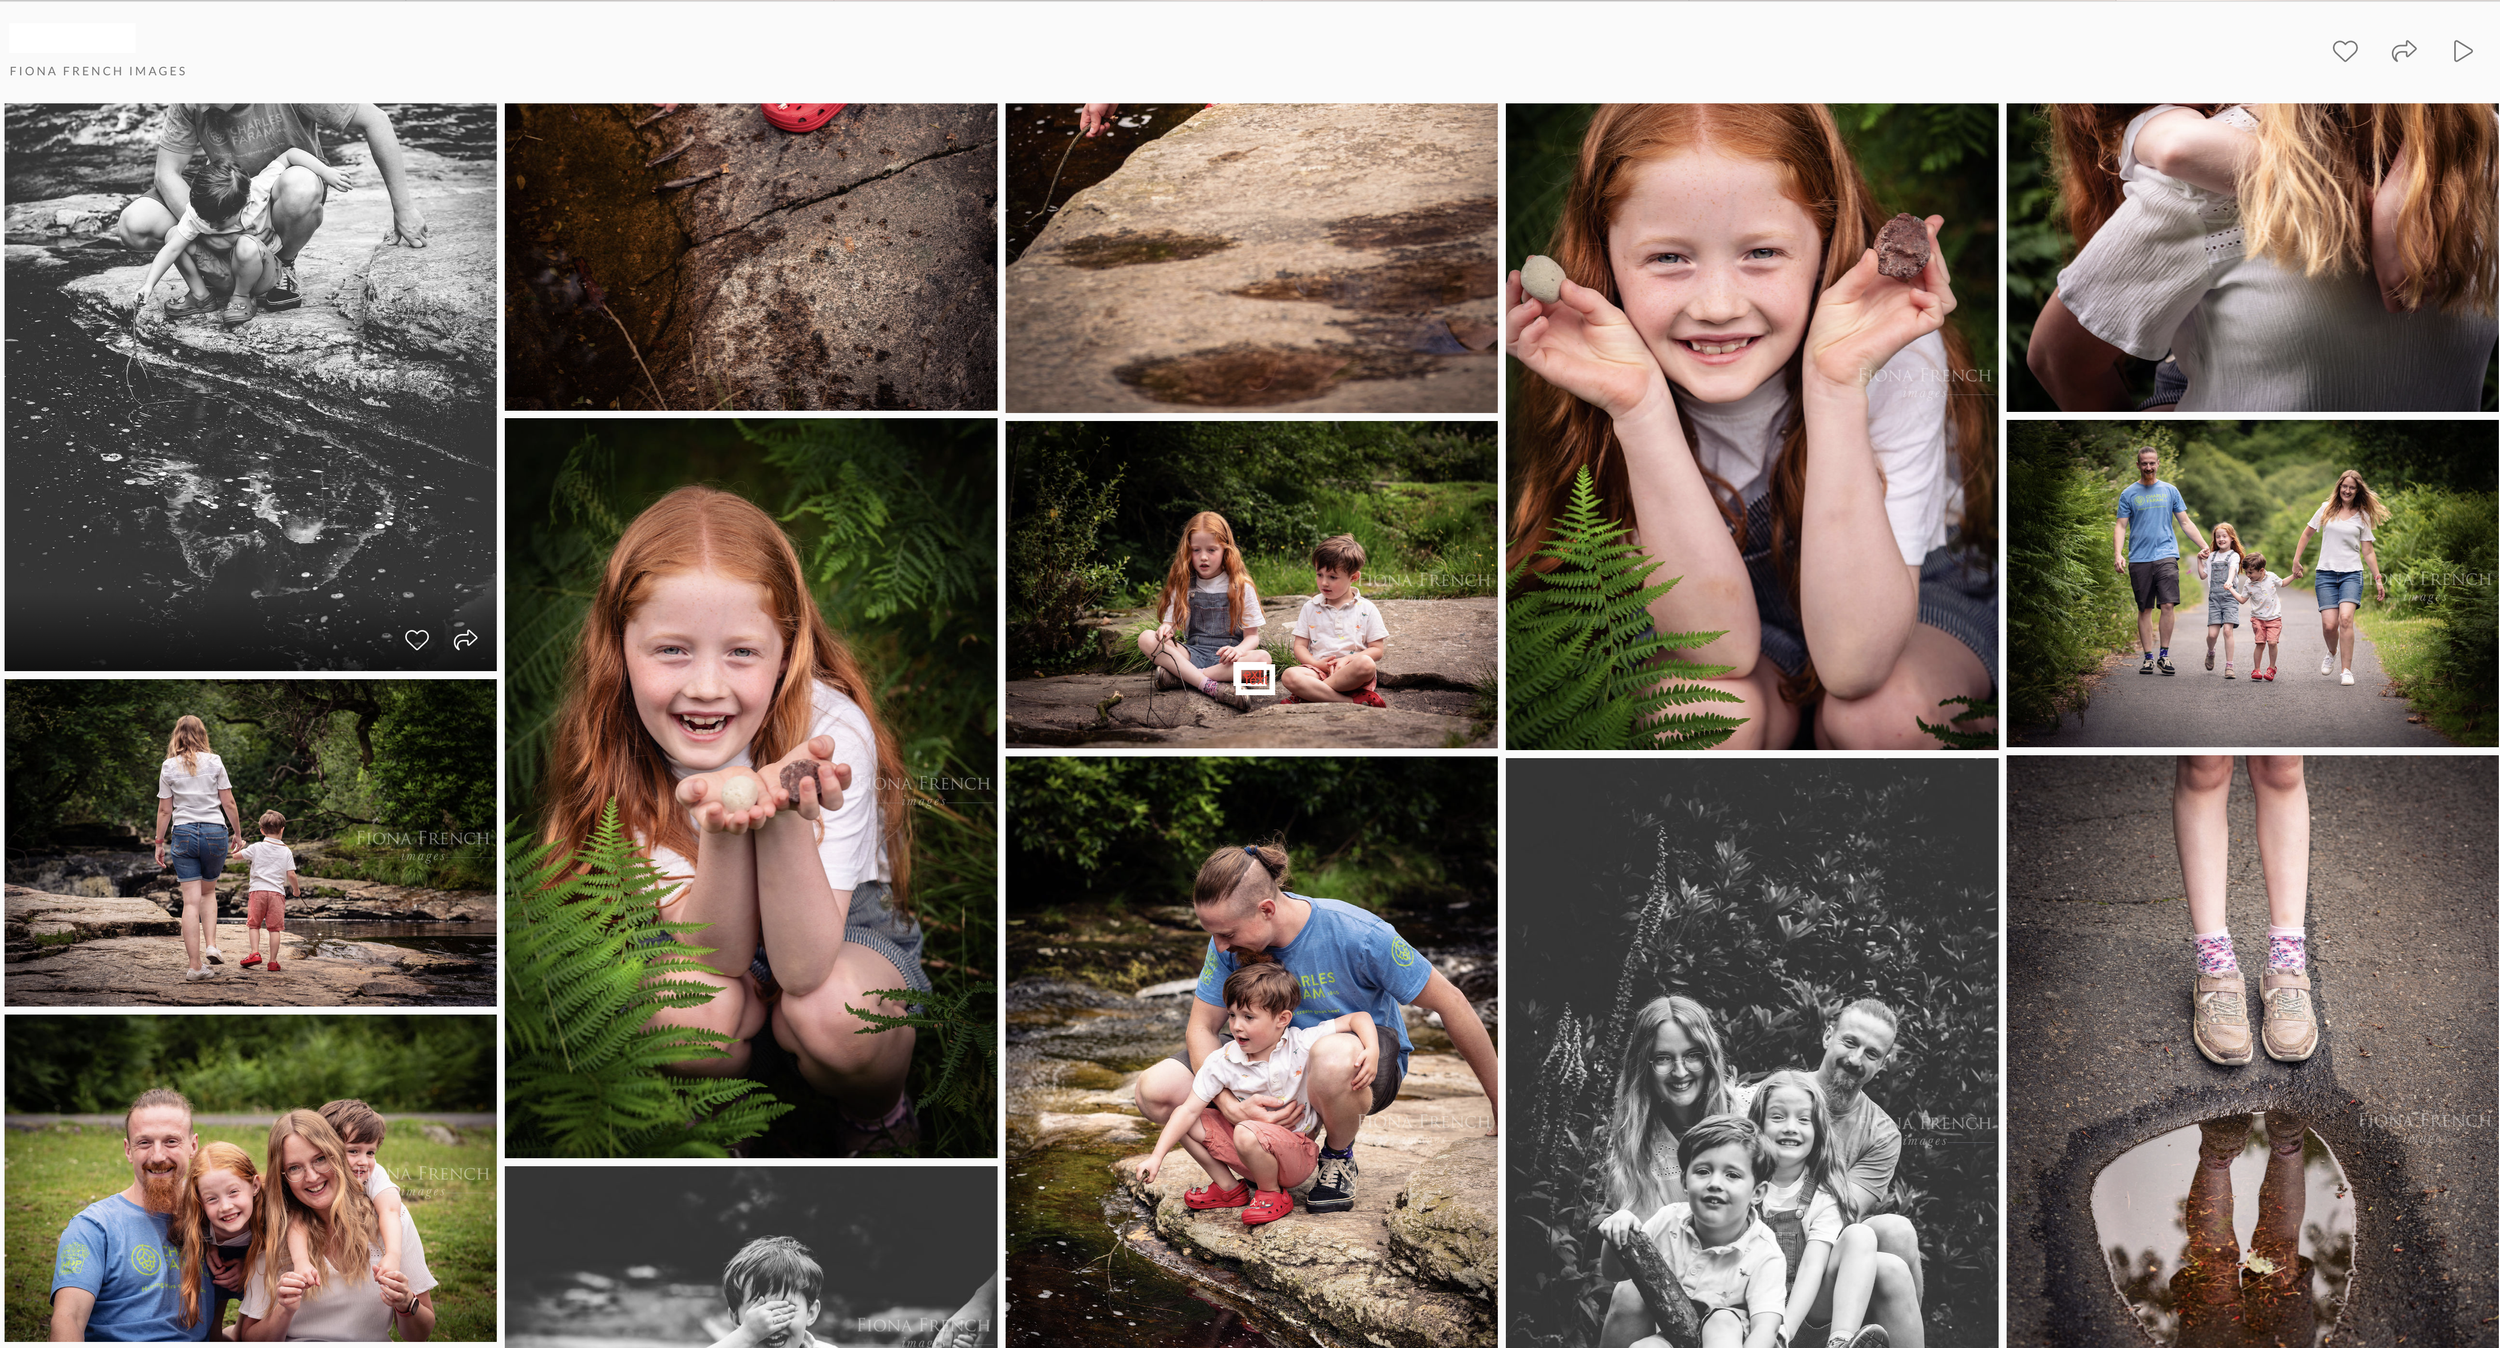
Your selection of images will be viewable in a private viewing gallery so you can browse through them all at leisure.